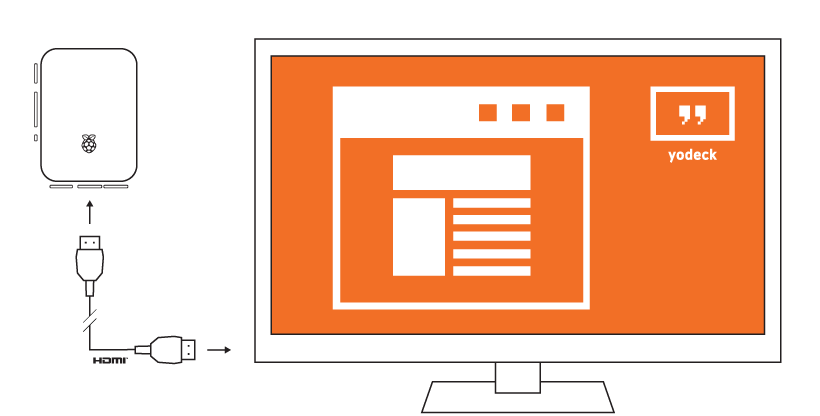
Ever wanted to simply display a given web page on your Raspberry Pi? Whether it’s to share a dashboard with some key metrics on a common workplace screen, or simply to display the latest news or weather, it’s a great way to show your content.
With Yodeck it’s never been easier. Yes, we know. There are plenty other ways to show a webpage 24/7 on a Raspberry Pi. But why use a DIY hack when you can use a professional solution for free?
Here’s how it’s done with a Raspeberry Pi and Yodeck in six simple steps – no hacks needed!
Step 1: Create a Free Yodeck Account
Easy and free. Simply sign up for Yodeck. As soon as you sign up and login, you’ll see the Dashboard, where you can find a contact form. Through that, you can reach out and ask for help.
Step 2: Create & Register Your Yodeck Player
You need to write the Yodeck SD Card Image to your Raspberry Pi. This will overwrite all of your data, so make sure you keep a backup if you need anything.
Here is the detailed guide to create and register a Yodeck Player. Reach out to our support team if you have any trouble.
Step 3: Add the Web Page in Your Yodeck Account
On the left menu, click on “Media” and then click on “Web Pages”. On the screen that appears, click the “Add Web Page” and type in the address of the web page you want to display on your Raspberry Pi-powered screen.
In this form, you’ll also find more details, which you can investigate in cases where the web page needs some tweaking to be displayed correctly, or when the web page requires login info or other actions to display what you want. For now, you can safely skip it until needed.
Click the “Save” button to save the newly-created web page entry.
Step 4: Create a Show with the Web Page
On the left menu, click on “Shows”. On the screen that appears, click the “Add Show”. You’ll be presented with a virtual screen where you can edit its layout. Since you only want to show a single web page (for now), click on the “Media” grey button and select the Web Page you created. Make sure that the “Enable Transparency” option is disabled, since it might cause your web page to render slower.
With the web page added to the newly created show, you just need to resize it to take up all of the available space. Using your mouse, resize the web page to take up the whole screen, edge-to-edge. Click “Save”.
Step 5: Assign the Show to Your Monitor
Almost ready. Now you need to assign this show to your monitor. From the left menu, go to “Monitors”, select the monitor you create, and for the “Default Show” option, select your newly created show. Click “Save”.
Step 6: Click the “Push to Players?” Button
Whenever you make content-related changes to your Yodeck Account, the “Push to Player?” turns red. You need to push that button in order for your newly-made changes to be pushed to your Players. Click it, wait for 15-20 seconds, and you should see the Player loading up the web page. You’re ready to roll!
Great, but what if you want to show more than one web page?
Well, in this case, you can a) add more web pages to the show and place them on different portions of the screen, or b) create a playlist with multiple web pages and add that playlist to the show.
Webpage not displayed properly? No problem. If the web page seems wrongly zoomed (either in or out), you can change the zoom settings. If some parts, or the whole web page is not rendered correctly, then you might need to switch to the Chrome rendering engine, again using the settings in the web page. You can find more details in the web pages documentation section.
See, it’s as easy as raspberry pi(e). And don’t forget, you can reach out to our support team if you need any help.
