Table of Contents
Introduction
Celebrate the most important moments with your team! Birthdays, work anniversaries, and welcoming new joiners are great ways to engage your coworkers and create delightful surprises for them. Imagine how motivated your employees will feel when you celebrate their years of hard work or give them a shoutout on their birthday. Picture a new joiner’s excitement when they see a personalized welcome message just for them. Now, imagine all of these celebrations prominently displayed on your screens for everyone to see. This visibility will enhance the sense of community and recognition within your team and make each moment even more special and memorable. Team Celebrations makes all of this possible with the app’s few simple steps. Let’s get started!
Creating a Teams Celebrations app
First, let’s understand how the app will work. The key component of Team Celebrations is the CSV file. This file allows you to display any information you want, but it must be filled out correctly. Don’t worry, we have all the details you need to get it right.
Note
Team Celebration app will be displayed in a playlist or a layout only if there are celebrations to showcase. When there are no celebrations, the app will be skipped.
We’ve created a template to help you fill out the CSV file. Click on the form to go to Google Sheets, where you can find our template along with instructions. Before you start, please copy this template to your own drive and work on a separate file. In a separate file, you will have the freedom to do whatever you want!
To make a copy of the file, go to File → Make a copy
Here, you can find the link for the Team Celebrations Template.
Now that you have a clean copy of our template, you can start working on the CSV file. The first two columns of the CSV file are crucial for the app to work properly, so don’t delete or modify them in any way; otherwise, the app won’t function.
Instructions for the CSV file
Display Name
- Enter the name and surname of your coworker as you want it to be displayed on the Celebrations card.
Date of Birth (MM-DD-YYYY) & Start Date (MM-DD-YYYY)
- Enter the date in MM-DD-YYYY format.
- Note: Using this format is important; otherwise, the app won’t work. Ensure each Display Name entry has at least the Date of Birth or Start Date. The Start Date is used for work anniversaries and welcoming new employees.
Job Title & Department
- Enter the job title and department where the employee works. Leave the respective column empty if you don’t want to display the job title or department.
Birthday Wish, Work Anniversary Wish & New Hire Wish
- Add a wish tailored to the occasion. For example, “Happy Birthday,” “Happy work anniversary,” or “Welcome Onboard.”
- Maximum characters: 55
- Note: The display name will appear after the wish. For example, “Happy Birthday [Display Name].” Only the first 55 characters of the wish will be displayed; the rest won’t.
Custom Birthday Message, Custom Work Anniversary Message & Custom New Hire Message
- Add a special note tailored to the individual. For example, “For many more years to come” or “We are glad to have you with us!”
- Maximum characters: 140
- Note: Messages longer than 140 characters will be truncated with “…”.
Picture (URL)
- The URL of the image must be public. You can upload the person’s image to any cloud storage and get a public URL or use their LinkedIn image URL.
- Note: If you don’t want to use employee images, leave the entry empty for that coworker, and a graphic will be displayed instead.
Now that you have created your CSV file and filled in all the information, download the file in CSV format. To do this, go to File → Download → .CSV and then import it, in the form.
Note
We highly recommend using Google Sheets to fill in all the information before downloading the file as a CSV. Editing the file with a different editor after downloading will disrupt the formatting and make it more difficult to fill in the information.
After importing the .csv file, you can choose what to display. Team Celebrations allows you to show birthdays, work anniversaries, or welcome messages for new hires. You can display all types of celebrations or focus on just one, such as only birthdays or only work anniversaries. It’s up to you.
Note
Make sure the .csv file contains the information you want to display.
You can choose between two themes:
- Playful: Light, Dark
- Elegant: Light, Dark
Here is a sample of a Playful birthday card with a public image and one without a public image, showing the Birthday graphic instead.
Note
To display the graphic, leave the Picture (URL) entry empty in the .csv file.

With Public Picture URL

With Graphic
Similar logic applies to work anniversaries with the Elegant theme:
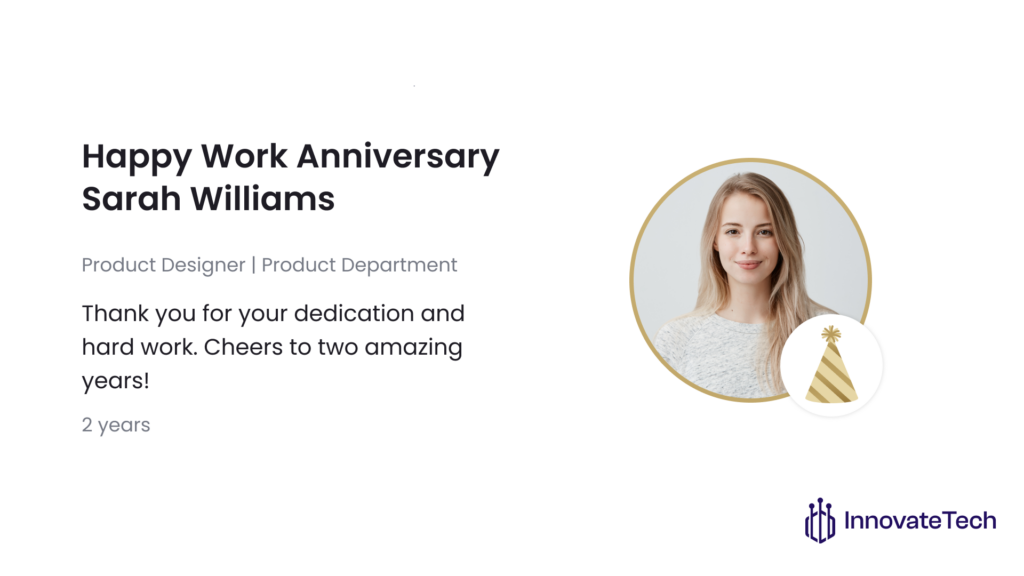
With Public Picture URL
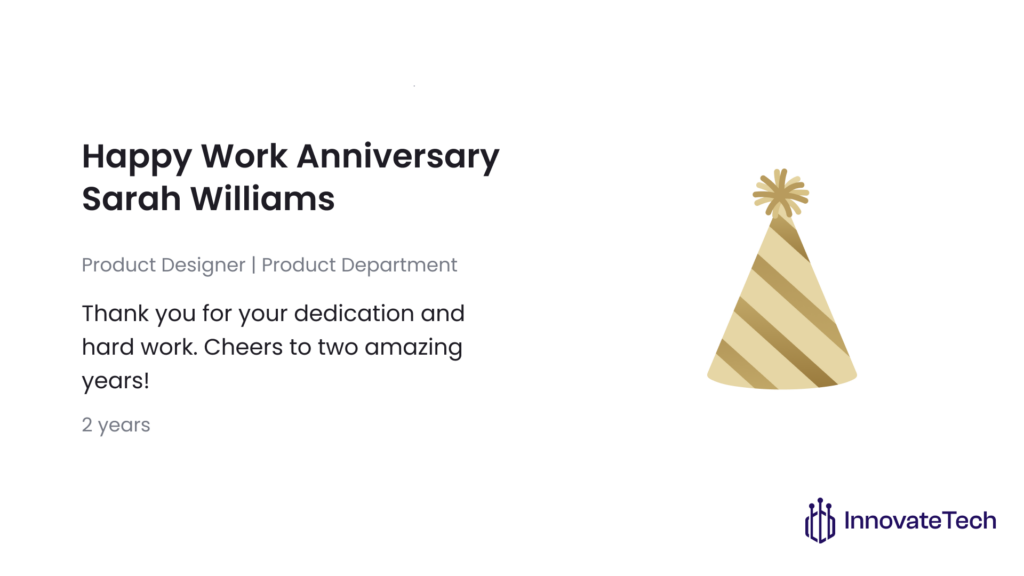
With Graphic
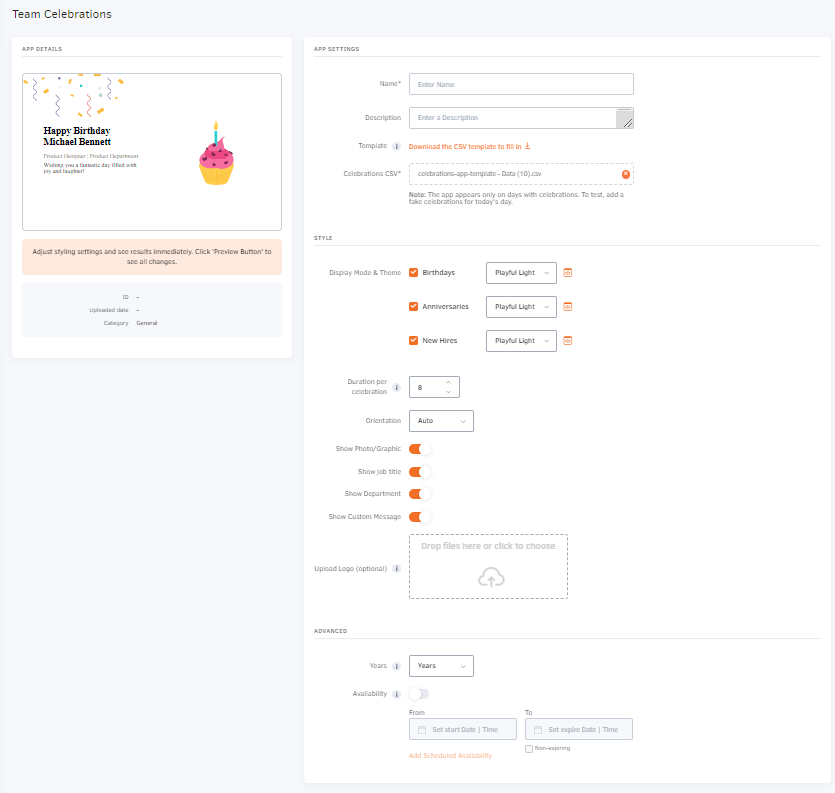
Next, let’s configure the display & Style options for the cards:
Style Settings
Duration per Celebration
- Set the duration (in seconds) for each celebration card. This determines how long each card will be displayed.
Note
The total duration of the app in the playlist will be the sum of all individual celebration card durations for that specific day. If there are no celebrations, the app will be skipped.
Orientation
- Choose the display orientation for the celebration cards.
- Options: Auto, Landscape, Portrait
Show Options
Toggle the options to display various elements on the celebration card:
- Show Photo/Graphic: Display the photo or graphic.
- Show Job Title: Display the job title.
- Show Department: Display the department.
- Show Custom Message: Display a custom message.
Upload Logo (Optional)
Upload a logo to be displayed on the celebration cards. The requirements are the following:
Requirements:
- JPG or PNG format
- Maximum 1 MB in size
- 800px x 300px (the final size will be % of the screen)
- Please note that vertical logos might look smaller
Advanced
In the Team Celebrations app’s advanced options, you can customize the term for “years” displayed on the work anniversary card to suit your language and preferences.
- The default term “years” is used for work anniversaries. This is the standard setting suitable for English-speaking users. For example, “2 years.”
Note
By selecting “Custom,” you can enter a custom term for “years” in the provided text input field. This is useful for international teams. For example, an Italian user can enter “Anni,” a Greek user can enter “χρόνια,” or a German user can enter “Jahre.”
Availability
- Manage Availability by selecting ‘From’ and ‘To’ dates to schedule when the app is active. More details can be found here.
Need Help?
The Yodeck Support Team can help you out! Log in to your Yodeck account and Send us a message from the bottom right corner!