Table of Contents
Introduction
Digital signage on Microsoft Teams Rooms expands organizational communications into your meeting spaces, enabling you to inform, connect, and engage your teams.
Setting Up Digital Signage with a Web Link
- Access the Teams Rooms Pro Management Portal: Sign in to the Teams Rooms Pro Management portal.
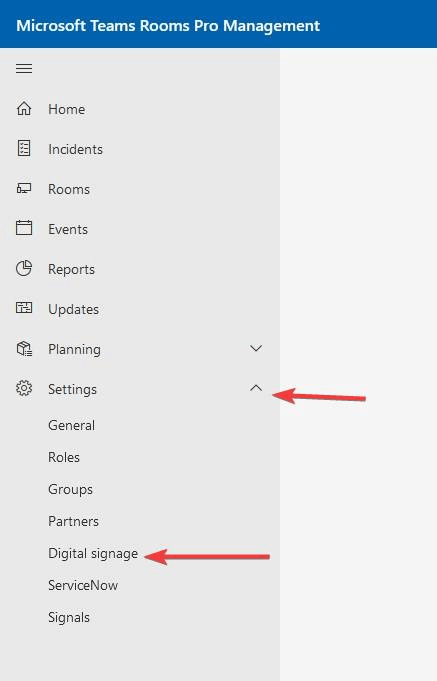
- Enable Digital Signage:
- Navigate to Settings > Digital signage.
- Toggle the Digital signage option to On.
- Add a Custom Web URL as a Signage Source:
- Click on Add source.
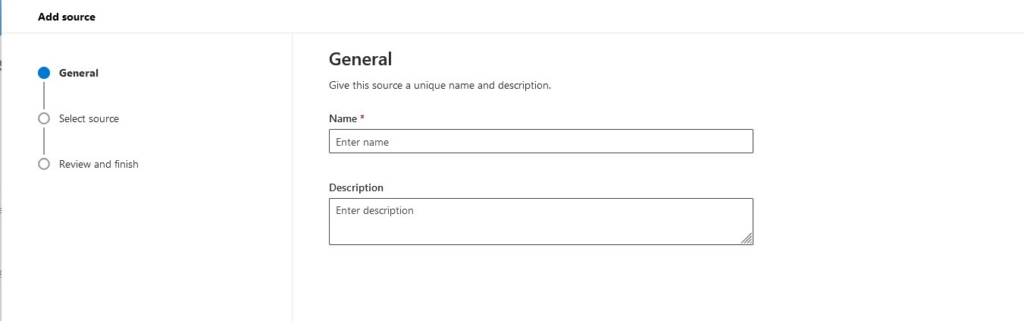
- Enter a unique name and description for the signage source.
- Select Custom as the source type.
- The Name and Description sections are purely for MS Teams Rooms – provide a name and description which will help you identify your signs in case you want to make several. Once inputted, hit Next.

- Now you’ll need to Select source. We recommend using the Yodeck Web Player for this. . Simply input the following URL as your Custom Source: https://player.yodeck.com/
- The last screen is a Review screen. If everything looks good, hit Finish.
- Make sure that the Web Player is registered under your account by filling in the registration code.

Assign the Signage Source to Your Rooms:
- After adding the signage source, assign it to specific rooms or room groups as needed. Press the Assign to Rooms button
- Select the Source you created in the last step and press Next.
- Now you’ll be reviewing your preferences for how to display signage on your Rooms app.
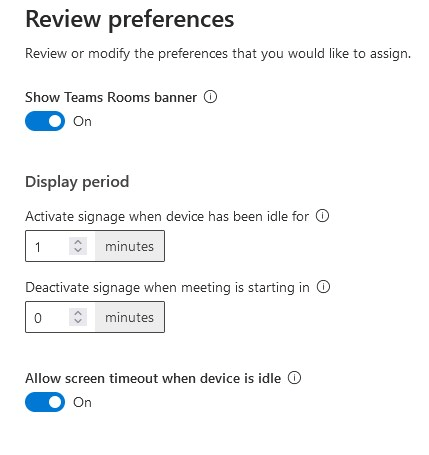
- Show Teams Rooms banner – Displays Room information over top of your digital signage when selected. Remove if you do not want this overlay.
- Display Period – Configure activation and deactivation timers to control when the signage mode is displayed.
- Allow screen timeout when device is idle – When selected, this will keep your default screen settings for timing it out. Deselect this if you want your signage to continuously display.
Press Next and then you will see the Assign Rooms Screen.
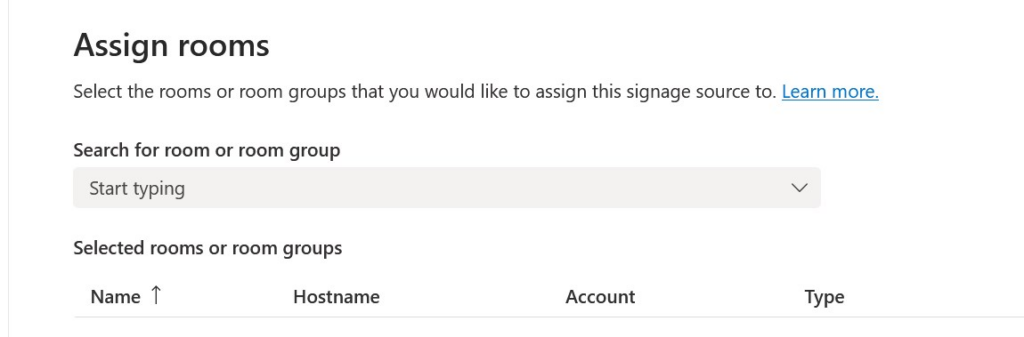
Choose the Room you want the Yodeck Web Player to display it. Press Next.
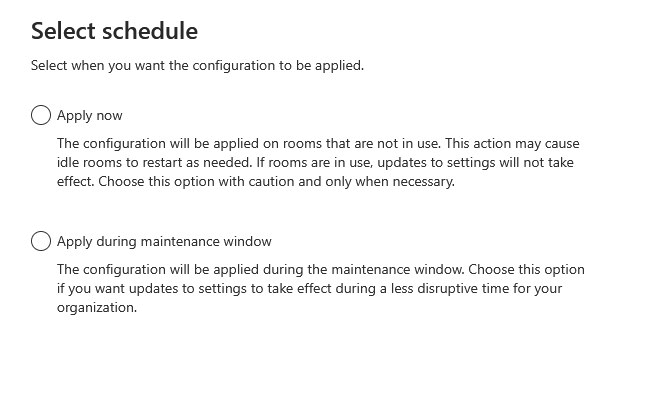
These options change when these changes will be applied. Select one, then press Next.
Now you’ll review all these changes. Simply press Submit, and the Room will be displayed on your Screen.
Important Considerations:
- Ensure your Teams Rooms devices are running version 5.1 or later.
- The digital signage feature is currently available for Teams Rooms on Windows with a Teams Rooms Pro license.
Need Help?
The Yodeck Support Team can help you out! Log in to your Yodeck account and Send us a message from the bottom right corner!