Table of Contents
Supported Formats
Yodeck supports many popular audio format types. The Audio formats that the player is supporting right now are the following:
- AAC
- MP4
- M4A
- MP3
- OGA
- OGG
- WAV
- OPUS
Adding an Audio Asset
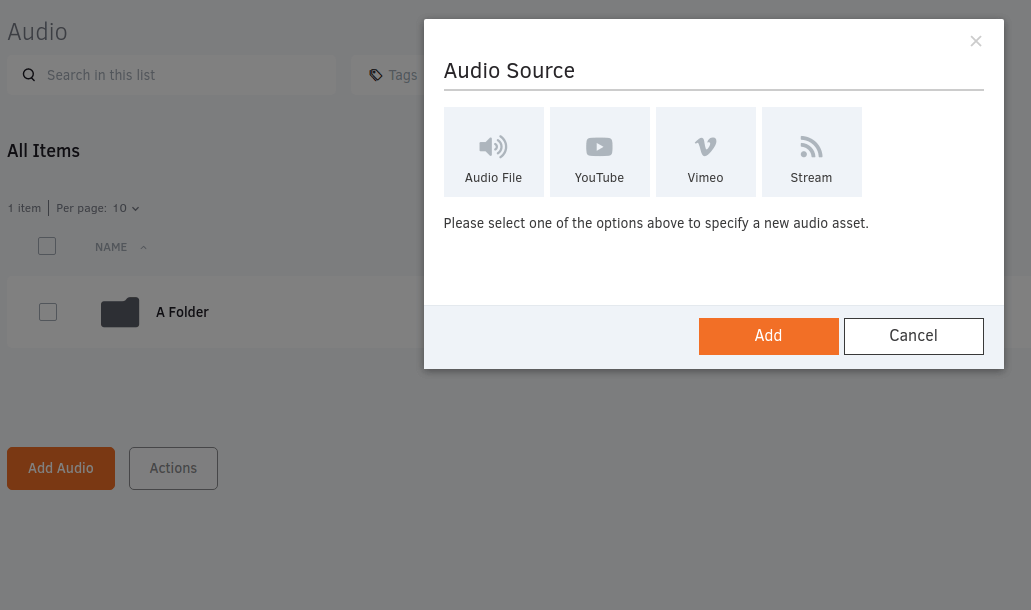
To add a single audio file, click on the ”Add Audio” button at the bottom of the audio list. You then need to select the type of audio source. You can choose from:
- Audio File – Upload audio files from your device. Use [Ctrl] or [Shift] to select multiple files, or use the Import from URL option and enter a link to an audio file. The file will be copied to your account.
- YouTube – Use a standard YouTube video link. Players download only the audio track directly from YouTube and save it in their storage for offline use.
- Vimeo – Use a standard Vimeo video link. Players download only the audio track directly from Vimeo and save it in their storage for offline use, or they can select the Vimeo Live Stream and paste a Vimeo LIVE streaming link.
- Stream – Use an online audio streaming link or other custom source, like an RTP or HLS stream.
After you provide the Audio source, you also need to provide the following:
- The name of the audio and an optional Description
- Add tags to the uploaded audio
- In the Advanced Features, you can set the Availability. Check below for more details!
- Click Save to upload the audio, and finally.
By enabling this option, you can set media Availability. In other words, you can select a future and an expiration date, which means you can pick the exact date and time this media will be available to play on your screens. For more details, please check the Media Availability guide.
Adding Audio with the drag-and-drop option
You have the option to add a Media by dragging the specific file or files from your PC directly to your Audio Library, therefore skipping a few steps and saving you some extra time.
The Drag and Drop option is also available in the Folder View.
Managing Audio Assets
In the Audio section, you can see a list of the Audio assets currently uploaded to your Yodeck account. Information about your audio files is organized in the following columns:
- the Name of the audio, along with a Preview (thumbnail)
- the Timestamp (date and time) that the audio was modified for the last time
- the Workspace (for accounts in the Enterprise plan) that the audio belongs
- The tags (for accounts in the Premium and Enterprise plans) that are applied to the audio
- the Actions column
If you click on the three dots icon in the Actions column, you will be presented with a list of actions to apply to your uploaded audio files.
Click on each tab below to see a short description.
Change the details of the audio by clicking the ”Edit” button.
Here, you can also substitute the actual audio, and it will be changed wherever used.
Check out the “Adding an Audio” section above for field details.
Create an exact copy of the audio file with a new name.
You can move audio files to folders and/or other Workspaces (for accounts in the Enterprise plan).
Delete the audio file.
Additional Control Settings
In the top-left corner, you can use the search box to sort out your audio listing quickly. You can search using any of the four columns by name, date, workspace, and tag.
You can select one or more audio by clicking the square box left to their thumbnail. You can then click the Actions button at the bottom to Edit, Move, and Delete all the selected documents at once.
At the top-right corner, you can click on the “+Add Folder” button to create a folder that can be used to group audio files (the folder will be global among Images, Videos, Audio, Documents, Web Pages, and Widgets).
You can also change the listing and refresh the view.
