BrightSign Gallery Media Player
To set up a BrightSign player through the BrightSign Gallery, first, ensure you have the following:
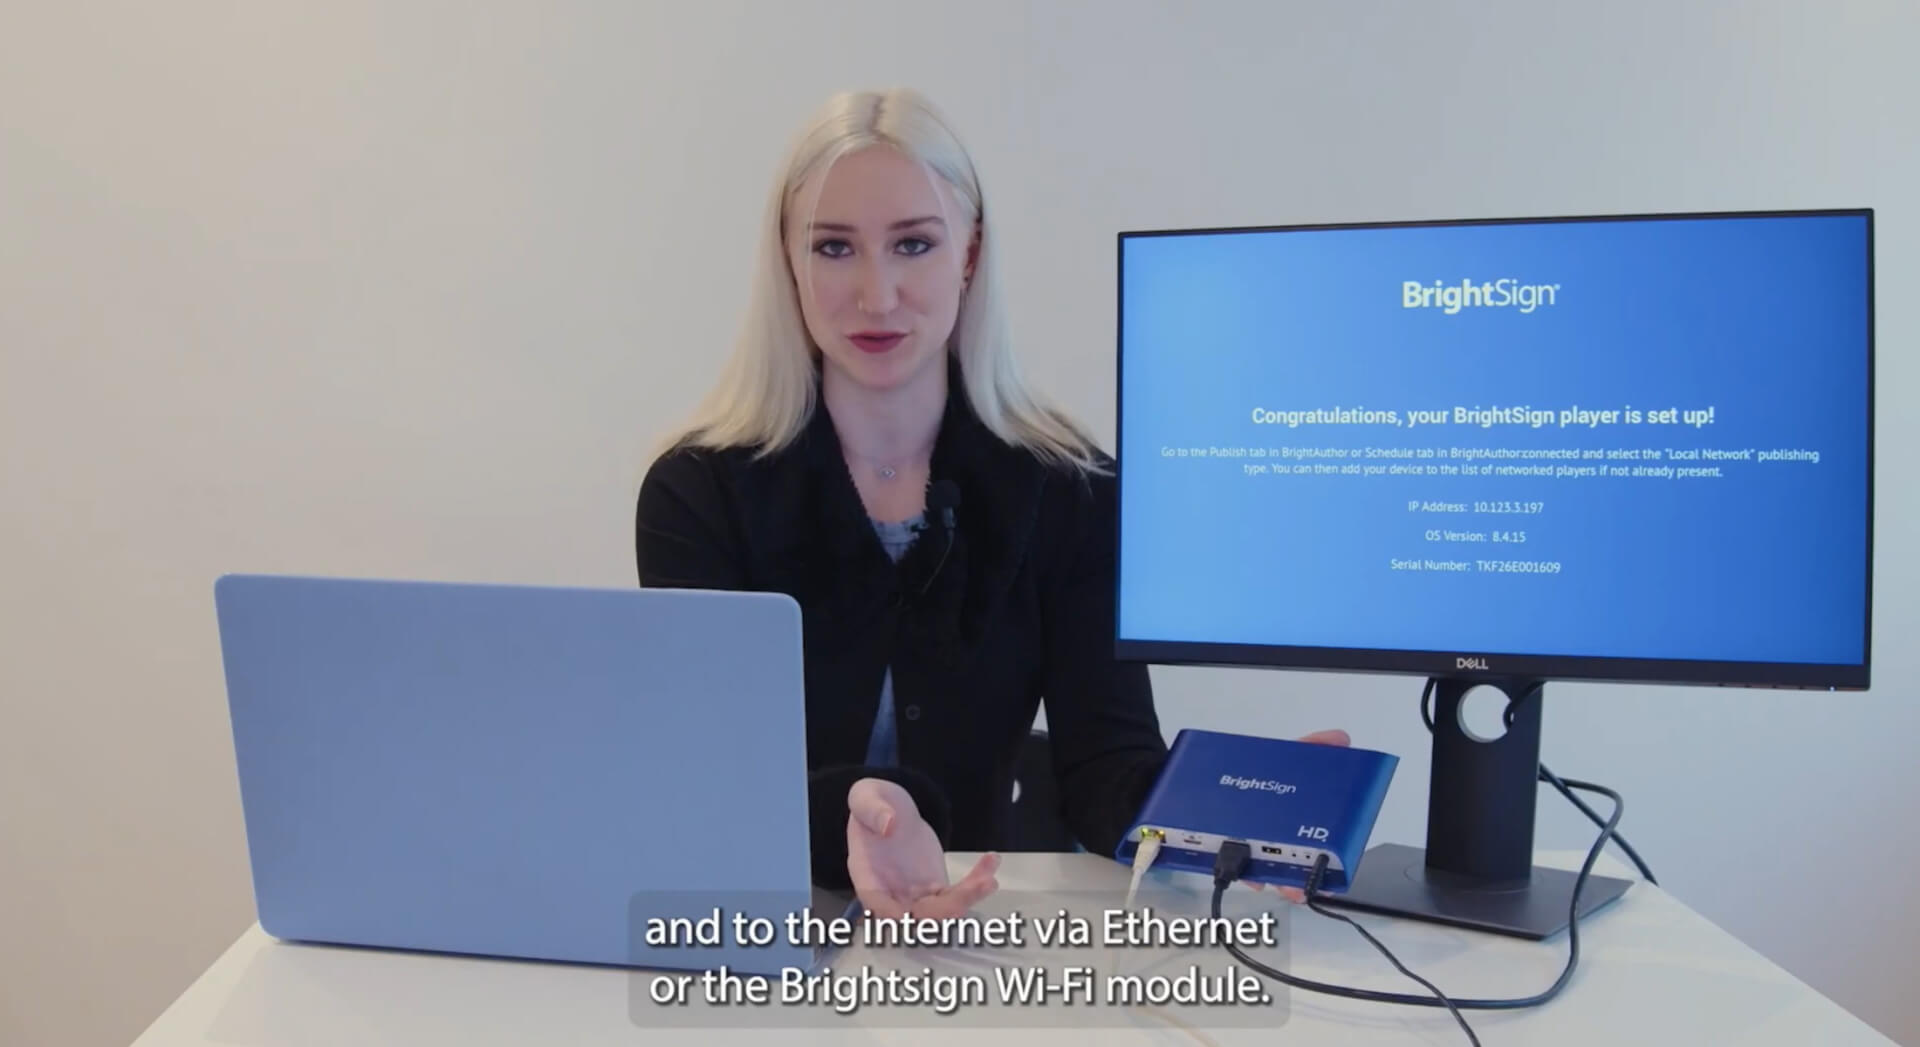
- Ensure that the BrightSign player is connected to the power supply, your monitor via an HDMI cable, and to the internet through either an ethernet cable or the BrightSign WiFi module.
- A micro SD card that has been flashed with the BrightSign software.
- Download the BrightAuthor Connected app and create an account on your computer or laptop.
- Launch the app, navigate to ‘Admin‘, select ‘Device Provisioning‘, add the device, and enter the serial number displayed on the screen to activate your device.
- To establish the Yodeck setup, access the admin device setup and create a configuration that you can save.
- Provide a ‘Name’ and a ‘Description’ for the setup.
- Choose ‘Partner Application‘, select ‘Yodeck‘, and then save this configuration to your library.
- To implement the setup, navigate to ‘Admin‘, choose ‘Device Provisioning‘, click on the device you are using, and then click ‘Apply Setup‘.
- Choose the setup you have just created and click on ‘Apply Setup‘ once again.
- Select ‘Dashboard‘, then click on the green bar at the top to open the device list.
- Find your device and click on ‘Settings‘ (the gear icon next to the name).
- Navigate to the control panel and click ‘Update‘ to reprovision your device.
The registration code will now be visible on the screen.
Register the screen remotely
- Go to BrightAuthor and find the device you want to register to Yodeck.
- Navigate to ‘Snapshots,’ then select ‘New Snapshot.’ Here, you can view the snapshot to retrieve Yodeck’s registration code.
Register the New Player
- Log into your Yodeck account and go to the ‘Monitors‘ tab.
- Add a new monitor and select a BrightSign player.
- Provide the player with a ‘Name‘.
- Add your registration code.
- Select ‘Save‘, and your newly configured player will be registered to your Yodeck account.
- Assign content to this player and click ‘Push To Players‘ to display this content on the screen.

